What's in the box. Part Deux!
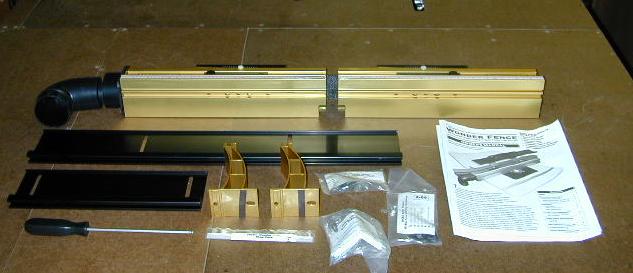 Like the RTEW the Wonder Fence
came well packed and undamaged. The #WFULTRA kit comes with two gold anodized
aluminum fence halves w/scales, two gold cap braces, two black finished
aluminum fence cap pieces, dust port, hex driver and all the hardware necessary
to install the Wonder Fence to your TS-III fence. As with the TS-III the
hardware is neatly packaged by operation which makes this simple assembly
even simpler. Like the RTEW the Wonder Fence
came well packed and undamaged. The #WFULTRA kit comes with two gold anodized
aluminum fence halves w/scales, two gold cap braces, two black finished
aluminum fence cap pieces, dust port, hex driver and all the hardware necessary
to install the Wonder Fence to your TS-III fence. As with the TS-III the
hardware is neatly packaged by operation which makes this simple assembly
even simpler.
Assembly:
  Assembly
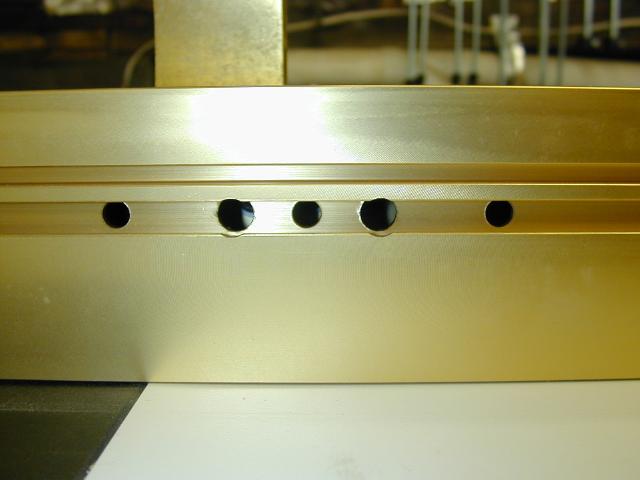
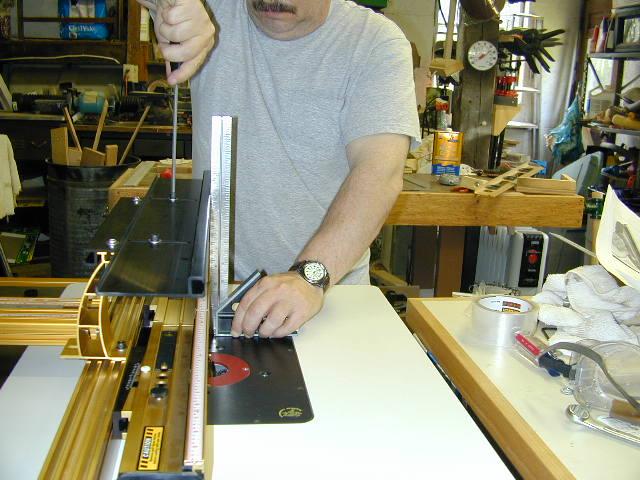
of the fence is easy. Simply use the supplied hex driver to loosen the
two screws located behind the large holes if the front of the fence
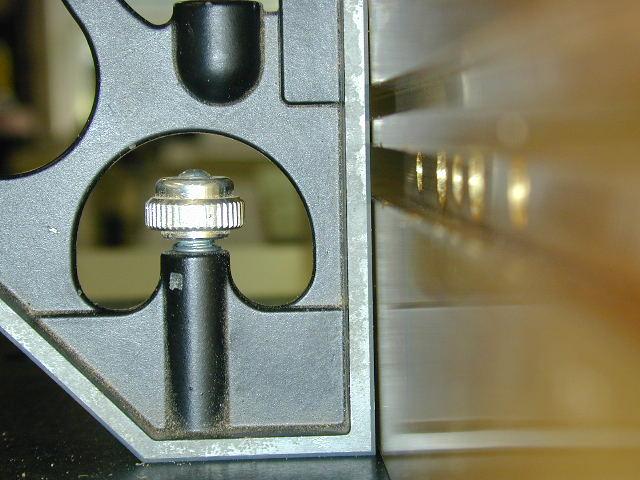
(right). To make it easier, Incra has designed the fence with sight holes
(below). Just loosen the thumb screw, slide the cover and it's easy to
insert the hex driver into the cap head screw. Assembly
of the fence is easy. Simply use the supplied hex driver to loosen the
two screws located behind the large holes if the front of the fence
(right). To make it easier, Incra has designed the fence with sight holes
(below). Just loosen the thumb screw, slide the cover and it's easy to
insert the hex driver into the cap head screw.
Once the fence is installed it is time to check for alignment. In the photo
(below left) you can see that the fence is off by a little bit. Following
the instructions I loosened the infeed side wedge locking screw and inserted
the supplied shims behind the wedge (below middle). As luck would have
it I guess right the first time and the fence was now square (below right).
Repeat this for the outfeed side as well.
 Once you've adjusted the fence square,
you can zero the offsets by aligning the wedges so that they are even and
then sliding the pointer and locking it into the zero position. Once you've adjusted the fence square,
you can zero the offsets by aligning the wedges so that they are even and
then sliding the pointer and locking it into the zero position.
 For the last bit of assembly, install the cap braces
by sliding the T-nuts into the TS-III fence and attaching the black High
Rise Cap pieces. For the last bit of assembly, install the cap braces
by sliding the T-nuts into the TS-III fence and attaching the black High
Rise Cap pieces.
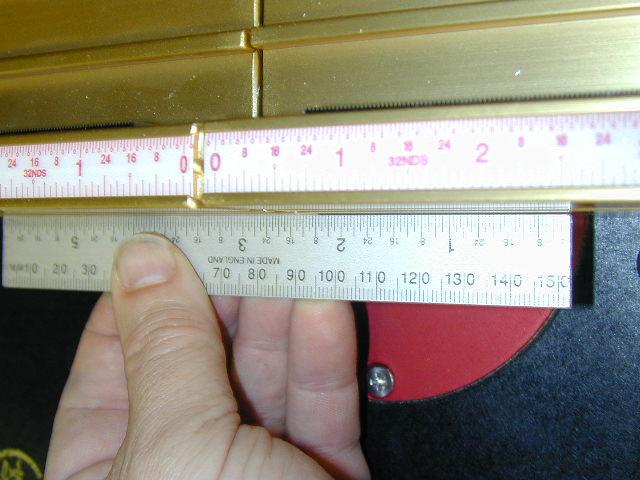
For the last alignment use a square to position the High Rise Cap flush
with the front of the fence.
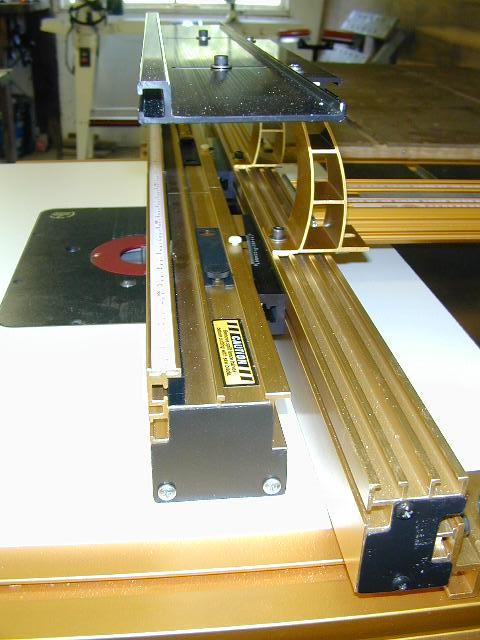
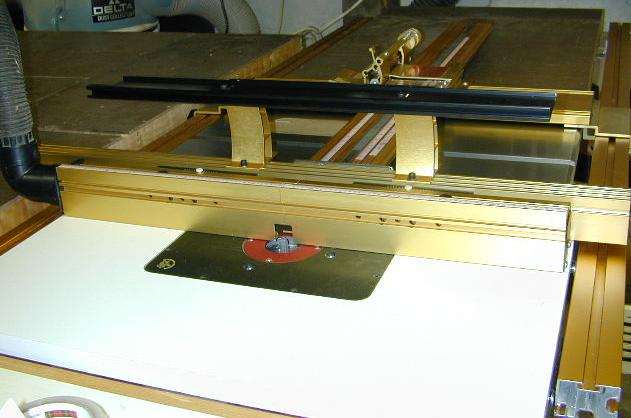
The completed Wonder Fence (below).
 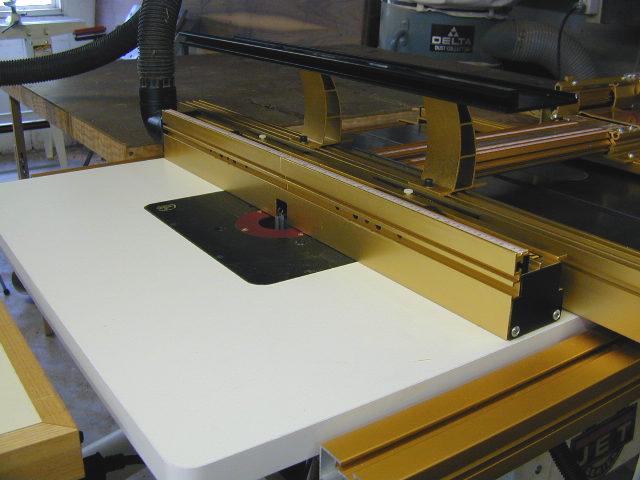 
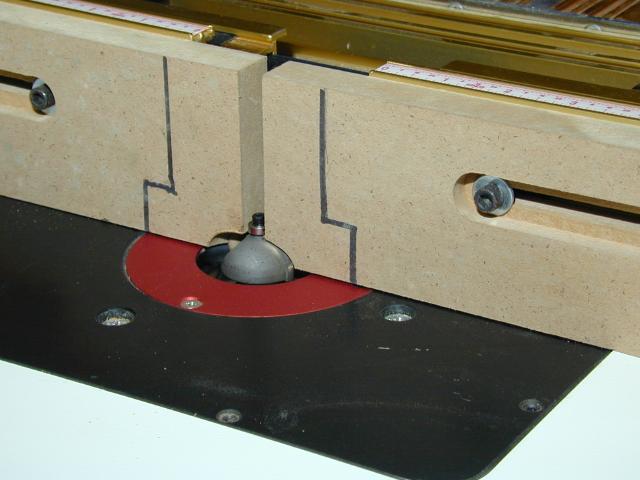  One
last thing you may want to do is to make a sacrificial fence so you can
have zero clearance for those times you need it. Directions for making
this fence are included in the instructions. I made mine from 3/4"
MDF. The marker lines remind me where the aluminum Wonder Fence is. I've
separated the fence so that I have plenty of room to bury my bits. One
last thing you may want to do is to make a sacrificial fence so you can
have zero clearance for those times you need it. Directions for making
this fence are included in the instructions. I made mine from 3/4"
MDF. The marker lines remind me where the aluminum Wonder Fence is. I've
separated the fence so that I have plenty of room to bury my bits.
Installing the Router
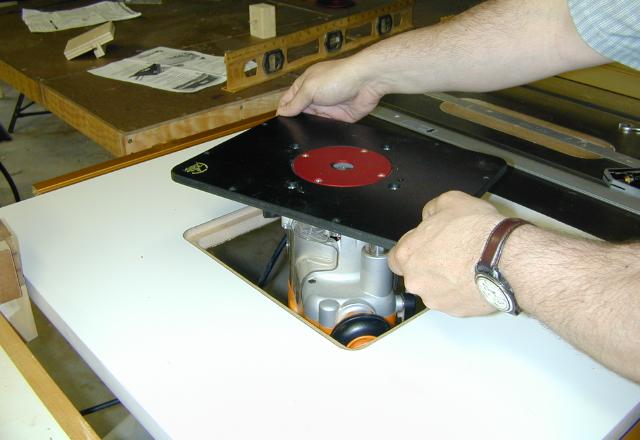  With the fence
completed it's time to install the router. Woodpecker will drill your insert
and provide mounting screws for the router you request. I was quite surprised
to learn that they could drill for my 3hp Triton. The drill pattern was
perfect but they supplied screws for a PC and not the Triton so off to
the hardware store I went. With the fence
completed it's time to install the router. Woodpecker will drill your insert
and provide mounting screws for the router you request. I was quite surprised
to learn that they could drill for my 3hp Triton. The drill pattern was
perfect but they supplied screws for a PC and not the Triton so off to
the hardware store I went.
The screw holes are counter bored vise counter sunk so if you have to supply
your own screws you'll need cap or pan head. As I stated earlier the insert
is 3/8" thick and after 3 months the insert has not sagged at all
under the weight of this heavy router.
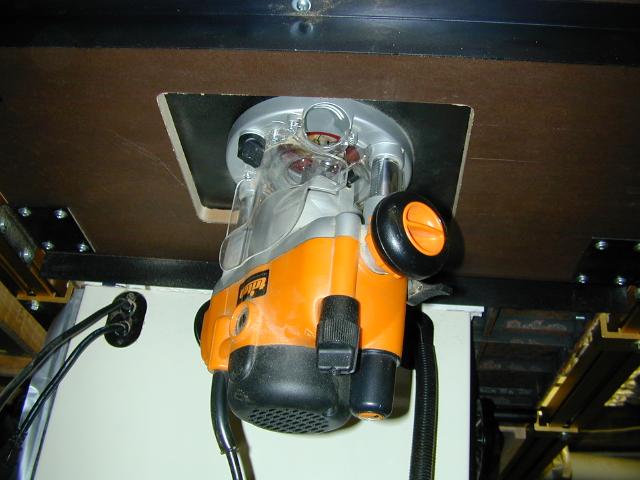
Tip - Installing the Triton Router
If
after tightening the 4 mounting screws you find that your height
adjustment is no longer smooth or even doesn't work at all it
is because the bushing on the Triton's posts are binding. If there
is any imperfections in either the Triton's base or the insert
this may occur. It is caused by the bushings being a very tight
fit to the posts.
To remedy this you can shim the base of the router. You will find
instructions for this in the RTEW instructions.
Triton is aware of this and has already redesigned the bushings.
When Triton officially releases the fix I will be having it retrofit
to my router and will report on the outcome.
This problem did happen to me on both the RTEW and my own router
table.
|
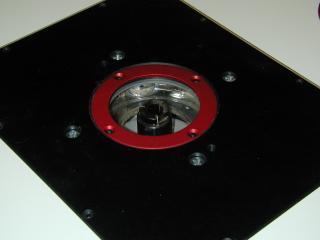 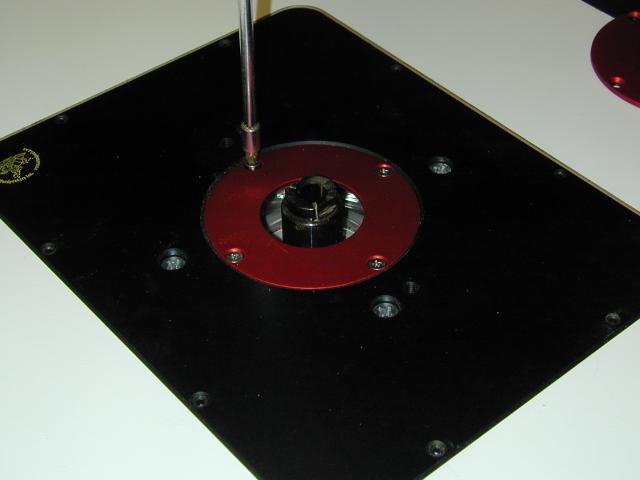 The insert includes four zero
clearance (more accurately minimal clearance) insert rings to allow you
to reduce choose the right one for the bit in use. The insert includes four zero
clearance (more accurately minimal clearance) insert rings to allow you
to reduce choose the right one for the bit in use.
The ring sizes are 1", 2", 3" and the fourth sized for PC
guide bushings. They are aluminum and are secured by four screws.
That's it, we're ready to rout.
More Features:
Before we get into making sawdust there are a couple more features
of the fence which I haven't previously touched upon or mentioned in passing.
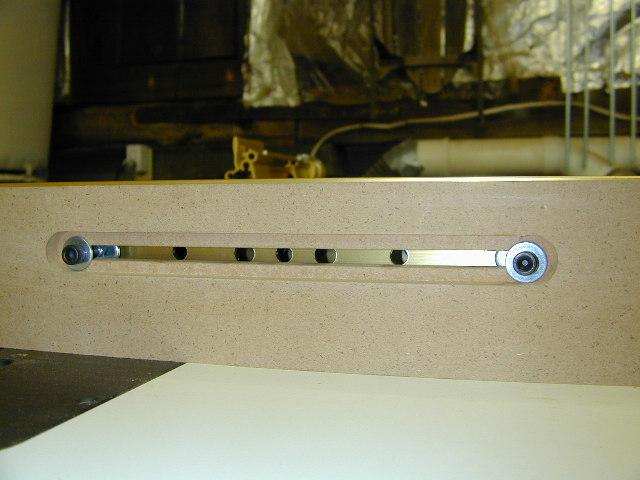
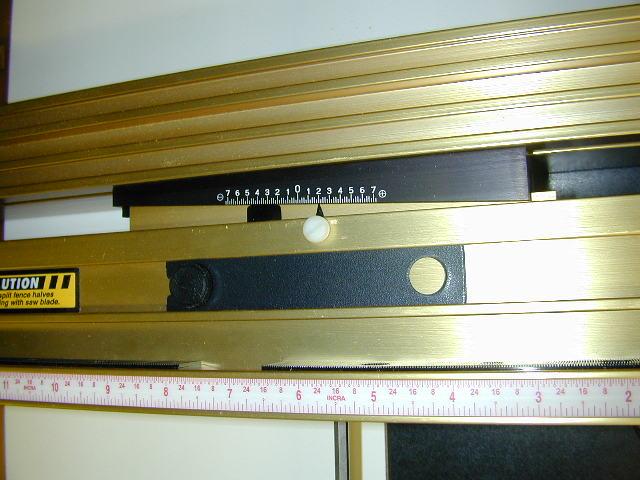
 The Wonder Fence also includes sliding scales. At
left you can see where I've zeroed them for use with the sacrificial fence. The Wonder Fence also includes sliding scales. At
left you can see where I've zeroed them for use with the sacrificial fence.
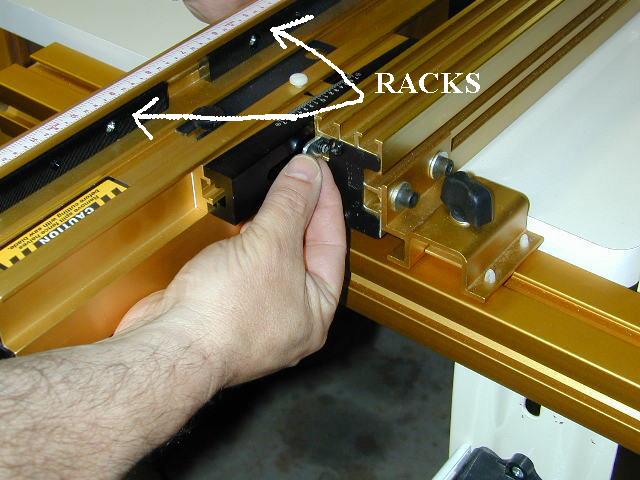
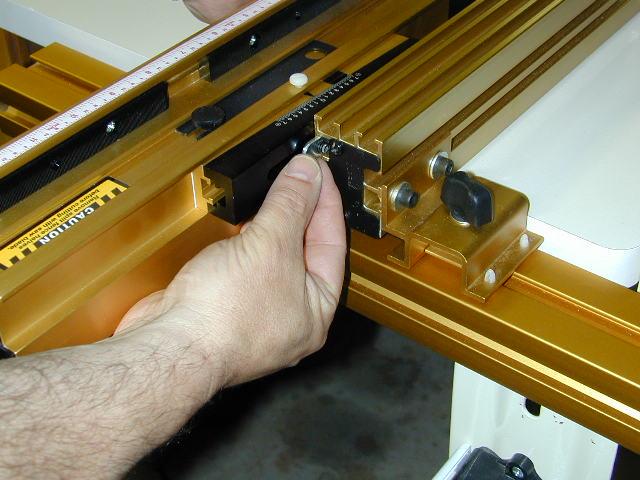
The Wonder Fence also comes equipped with same Incremental Racks as the
TS-III. These racks (right) are used to secure and align stops as well
as being used with Incra's Joinery
Package.
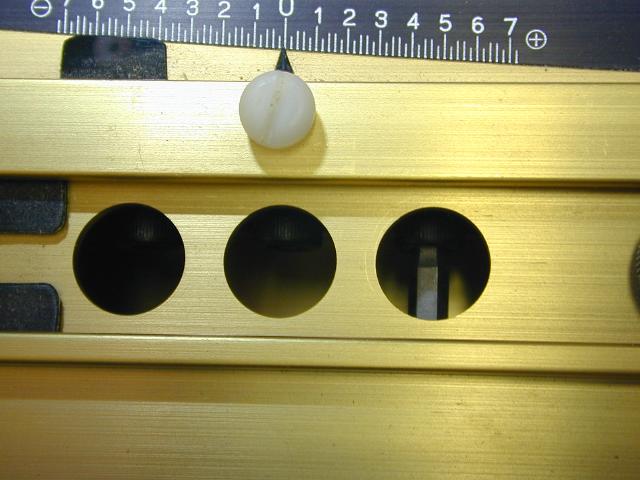
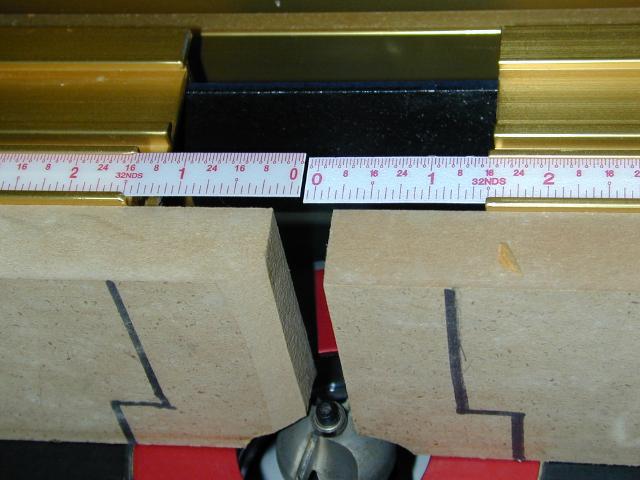
  Each half of the fence can
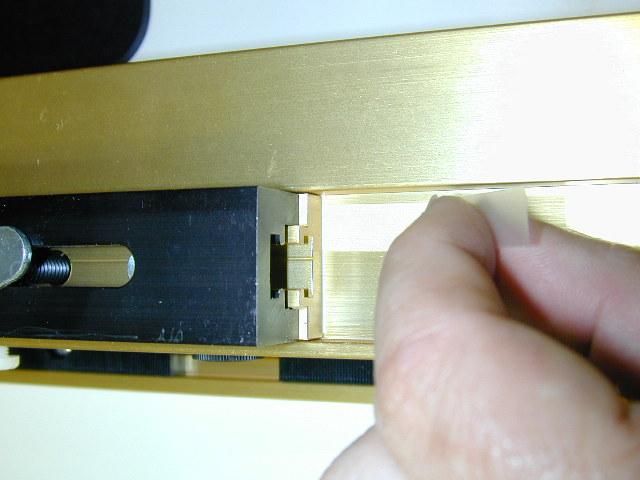
be offset either forward or back. Each index repersents 2/1000ths. For
jointing operations you can either offset the outfeed fence out or the
infeed fence back. In this case I offset the outfeed fence out by an index
of 2 or a measurement of 4 thousandths (left). This is accomplished by
inserting your hex driver in the two small
holes in the fence face, loosening the screws and sliding the black
outer half of the wedge in either the + or - direction. If you look closely
to the photo at the right you can see the gap between the fence and straight
edge (click on the photo to enlarge). Each half of the fence can
be offset either forward or back. Each index repersents 2/1000ths. For
jointing operations you can either offset the outfeed fence out or the
infeed fence back. In this case I offset the outfeed fence out by an index
of 2 or a measurement of 4 thousandths (left). This is accomplished by
inserting your hex driver in the two small
holes in the fence face, loosening the screws and sliding the black
outer half of the wedge in either the + or - direction. If you look closely
to the photo at the right you can see the gap between the fence and straight
edge (click on the photo to enlarge).
The offset feature can also be used when routing a profile where the completed
profile is no longer in the same plane as the infeed side of the piece.
Simply cout a couple of inches of the profile on a test piece and turn
off the router. Lay the unfinished part of the piece against the infeed
fence and adjust the outfeed side until the fence touches the completed
profile.
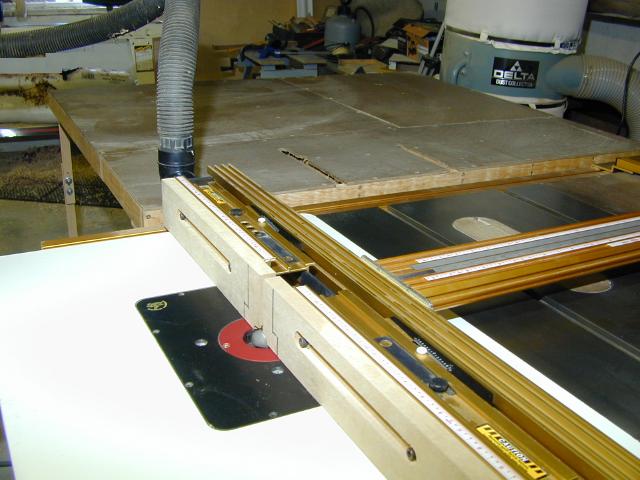 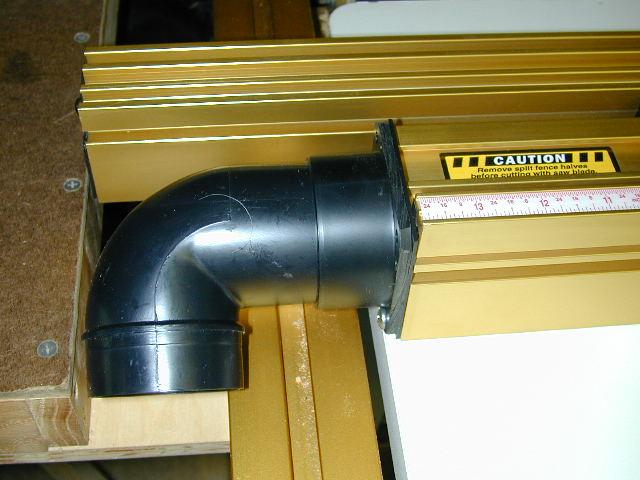 The Wonder
Fence has very good dust collection but with the fence halves butted together
the dust port will not extend over the rear fence rail (left). Rotating
it vertical and attaching the hose works well (right). The Wonder
Fence has very good dust collection but with the fence halves butted together
the dust port will not extend over the rear fence rail (left). Rotating
it vertical and attaching the hose works well (right).
[Next Page]
[Home]
|