Three of a Kind
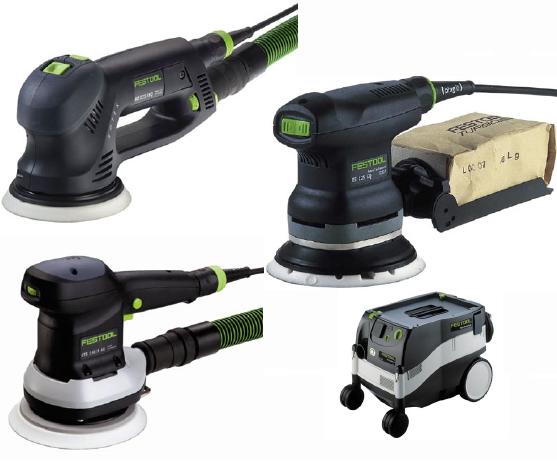
Festool's Rotex RO125, ETS 150
and
Random Orbit Sanders
by
14 Apr 2006
Sander Performance:
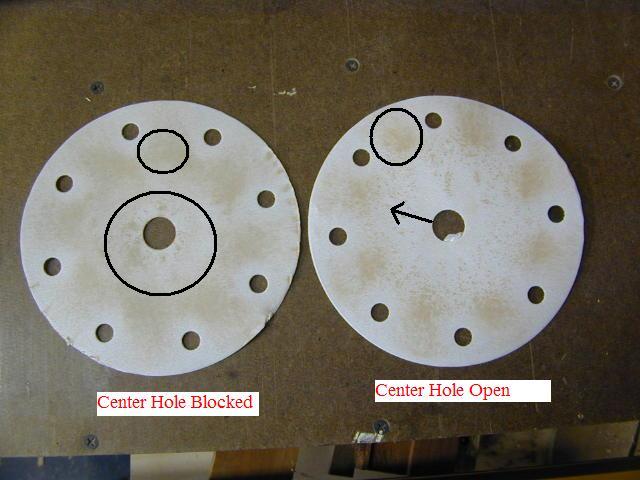
One thing I wanted to try to prove was that the hole in the center of the Festool sander actually had an effect. In the photo at left the Brilliant 180g disc on the left was used on a piece of walnut with the center hole blocked while the disc on the right was used normally. I had to do a lot of experimenting here because if I sanded too long then the whole disc simply got covered with wood so I had to try to sand long enough to produce a discernable pattern but not too long.
Needless to say it was difficult to do. I used an egg timer so that I sanded exactly the same time with each configuration. My interpretation of the results is that the center hole does indeed make a difference and the air flow or dust flow operates the way Festool depicts in their literature. The dust clearly has migrated closer to the outsides suction holes on the disk on the right than on the left. Over time that should mean that your disks will load a bit slower and regardless whether they last longer or not, they should sand more effectively.
I hate house work:
 I
had the opportunity to utilize the sanders on both a home improvement project
and furniture making. For the home improvement project I had an all pine
room (walls and ceiling) that needed to be stripped and refinished.
I
had the opportunity to utilize the sanders on both a home improvement project
and furniture making. For the home improvement project I had an all pine
room (walls and ceiling) that needed to be stripped and refinished.
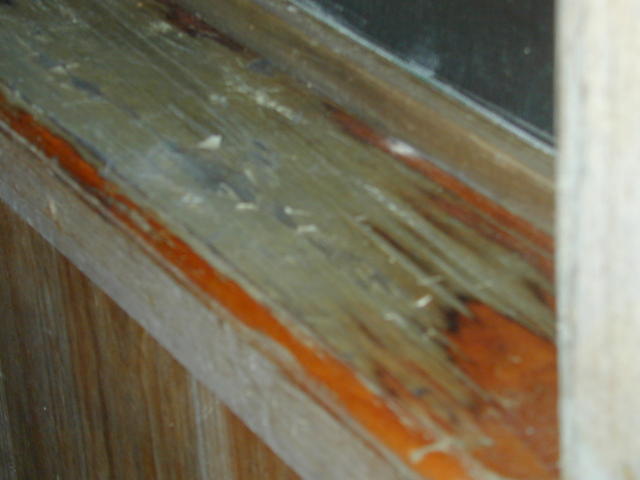
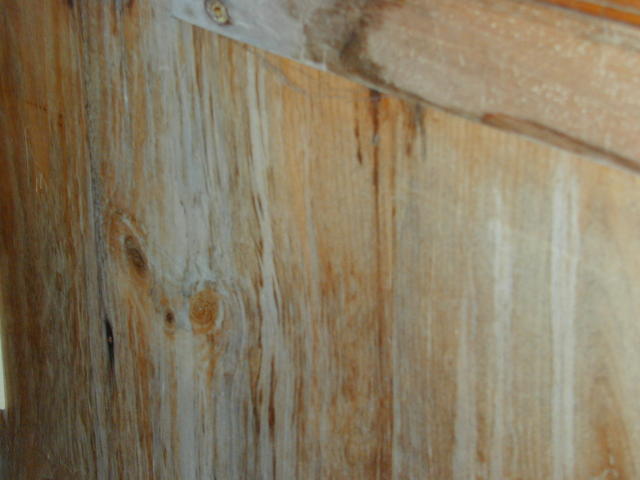
The woodwork in this three season room which
is exposed to sun and moisture was in very bad shape. Much of it stained
and all of it needing to have the varnish stripped.
Probably the smart and easier thing to do was to remove all the trim and just replace it and then sand the walls and ceiling. I opted to sand the trim as well for a couple of reasons but the main one was that this house has sections that date back to 1767 and the crude workmanship (OK, I admit, it was mine 20 years ago with nothing more than a Craftsman jigsaw and circular saw) actually fits into the style of the house pretty well. Plus I wanted to keep the rustic, weathered look.
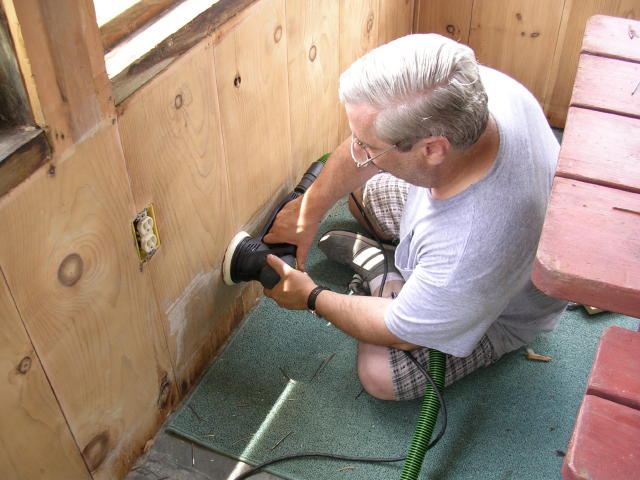
Anyway, armed with Festool I attacked the project. While for the walls the Rotex 150 would have been a better choice, the Rotex 125 was selected because I had to do a very large ceiling and the thought of holding the RO 150 over my head for any length of time was not very appealing. As it turned out the Rotex 125 was a perfect fit. The routine was to start off with 50 grit Rubin paper on the RO125 in the rotary mode. I could very quickly remove the bulk of the varnish. The next step was a pass with the RO125 and same paper in the Random Orbit mode to remove the swirls. I then moved to the ETS150/5 Random Orbit sander and 80 grit Rubin paper. The ETS150/5 was quite aggressive and the 80g pass went very quickly. Final sanding was performed with the ETS150/5 with 120g Rubin paper.
I used the sanders connected to the Festool CT22E vac throughout the refinishing operations and as you can see in the photo at left, the workplace stayed free of sanding dust.
For testing purposes I also performed the whole operation from 50 through 120 grit with the ETS150/5 and it worked quite well. Of course the RO125 in the rotary mode removed the varnish significantly faster but the ETS150/5 was no slouch either and if the ETS150/5 was your only sander, the project could easily have been completed albeit not as quickly.
 For
the trim i started with 80 grit Rubin paper because I was in a more comfortable
position and I felt I didn't need the added speed of remove that the 50 grit
provided even though I had 80 pieces of window trim to strip. I started
with the Rotex in the Rotary mode then went to the ETS150 with 80g and finish
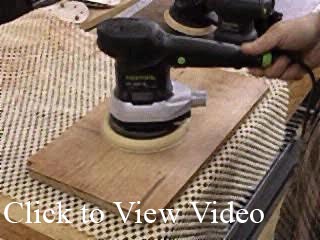
with the ES125 with 120 grit Rubin. Clicking on the
picture on the right will start a short video (1.5 meg download)
demonstrating the speed of material removal with the Rotex 125 in the Rotary
mode with 80 grit Rubin paper and also display the ease which I was able to
control the sander with one hand. The sander appears so easily controlled
that one would think it was in the Random Orbit mode but it is not. Again
I surmise that the fact that the Rotex combines the rotary and random orbit
motions contributes not only to the controllability but to the quality of finish
you get when using it in the rotary mode. The quality of finish of
the Rotex in the Rotary mode was reasonably good with the orbiting action doing
a good job of breaking up the rotary scratches. The ES125 and ETS150/5
both produced great finishes which were more than adequate for what I wanted to
accomplish for this room.
For
the trim i started with 80 grit Rubin paper because I was in a more comfortable
position and I felt I didn't need the added speed of remove that the 50 grit
provided even though I had 80 pieces of window trim to strip. I started
with the Rotex in the Rotary mode then went to the ETS150 with 80g and finish
with the ES125 with 120 grit Rubin. Clicking on the
picture on the right will start a short video (1.5 meg download)
demonstrating the speed of material removal with the Rotex 125 in the Rotary
mode with 80 grit Rubin paper and also display the ease which I was able to
control the sander with one hand. The sander appears so easily controlled
that one would think it was in the Random Orbit mode but it is not. Again
I surmise that the fact that the Rotex combines the rotary and random orbit
motions contributes not only to the controllability but to the quality of finish
you get when using it in the rotary mode. The quality of finish of
the Rotex in the Rotary mode was reasonably good with the orbiting action doing
a good job of breaking up the rotary scratches. The ES125 and ETS150/5
both produced great finishes which were more than adequate for what I wanted to
accomplish for this room.
For the overhead sanding I used the Rotex and the ES125. To put it plainly the only way that job would be easy is if I had my son doing it instead of me. The overhead work was exhausting but I feel that the Rotex helped reduce the time I needed to hold a sander up there. In this case I used 80 grit Rubin for the first rotary pass, then switched the Rotex to Random Orbit mode with the same paper and cleaned it up with the ES125 and 120 grit Rubin. I also switched from the green anti static hose to the lighter. more flexible silver non-as hose and that helped with the fatigue a bit. Again it was nice to be able to sand over my head without having sawdust get in my eyes.
Furniture Making:
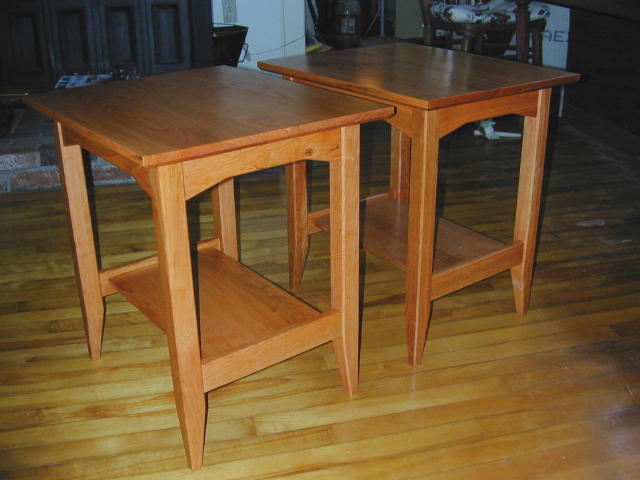
My first real use of the sanders on furniture came this past fall when I made a pair of end tables for my #2 daughter. While I used the Rotex 125 on this project I did most of the sanding with the ES 150/5 and the ETS 125 RO sanders. To me it was a no brainer to use the ETS 150 wherever I could. This sander is simply the smoothest sander I ever used and easily the smoothest of the three I tested. For this project I used the Brilliant paper in 120 through 240 grits.
Dust was minimal with the only visible escaping dust being when you ran the sander off an edge. I thought the ETS 150 was a bit too big to comfortably sand the legs but it really excelled on the larger table top and shelf leaving not only a very smooth scratch free finish but totally flat to the touch and eye. The ES 125 worked great on the smaller pieces but I had to be careful not to apply too much pressure or it would bounce a bit. Of course with any random orbit sander you really don't want to apply much pressure at all because you don't want to slow down the disc's movement but it is a hard habit to break when you're sanding.
I've created a short (2 meg) movie clip to try to illustrate how smooth all three sanders really are. All three are running at the fastest speed and have 220 grit Brilliant paper installed. I removed the vacuum hose because with it attached its stiffness made them all look extremely smooth when in reality they are all different. In this clip the ES125 appears to be the smoothest but I believe that is because its pad is virtually brand new. As the most often used sander, the ETS 150 had the most beat up pad with gouges in the side and hook worn smooth in a place or two and I think it suffered a bit in this test because of that. The Rotex is smooth but you can see that it wants to wander more than the others.
Throughout my use of these sanders I think the
ETS 150 was the smoothest of the three.
Sandpaper:
You will often hear Festool users talk about the Festool System and usually they are referring to dust collection but in my opinion a very integral part of the system when it comes to the sanders is the Festool sandpaper.
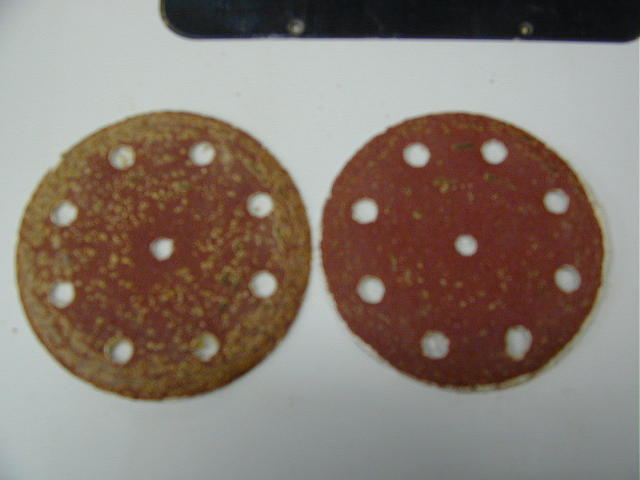 I
used the Rubin paper exclusively for the room refinishing and the Brilliant for
the furniture. The Rubin is about twice as thick as the standard Norton
paper you'll find at the big box stores and in my experience lasts significantly
longer. The biggest problem I encountered with regard to paper wear when
removing the varnish was loading the paper with varnish. If I ran the
sanders at full speed they quickly became covered with a hard plastic coating.
The way I resolved this was to turn down the speed of the sanders. By
lowering the speed I sacrificed only a little project time but the reduced heat
enabled the paper to last much longer. So much so that when the paper
needed changing it was only spotted with varnish whereas before there were long
streaks of varnish circling the discs. The photo at left shows a
prematurely useless 50 grit Rubin disc (disc on left) before I figured out I
needed to reduce the speed. The disc on the right is also worn out but not
loaded with varnish.
I
used the Rubin paper exclusively for the room refinishing and the Brilliant for
the furniture. The Rubin is about twice as thick as the standard Norton
paper you'll find at the big box stores and in my experience lasts significantly
longer. The biggest problem I encountered with regard to paper wear when
removing the varnish was loading the paper with varnish. If I ran the
sanders at full speed they quickly became covered with a hard plastic coating.
The way I resolved this was to turn down the speed of the sanders. By
lowering the speed I sacrificed only a little project time but the reduced heat
enabled the paper to last much longer. So much so that when the paper
needed changing it was only spotted with varnish whereas before there were long
streaks of varnish circling the discs. The photo at left shows a
prematurely useless 50 grit Rubin disc (disc on left) before I figured out I
needed to reduce the speed. The disc on the right is also worn out but not
loaded with varnish.
The Brilliant paper performed well although I did notice is was more prone to tearing than paper I had used before and I had to be careful to check it periodically to make sure a chunk hadn't torn off. A couple of times it did and I wore a small flat or two in the ETS 150's pad.
You can buy softer pads for these sanders and if you do you want to use the Brilliant or lighter paper because the Rubin is too heavy duty and it will prevent you from benefiting from the soft pad. For the heck of it I used my calipers to measure the thickness of some new discs and the Brilliant 220 grit disc (smallest grit sold) measured out at just 1/64th", the 180g Rubin at 1/32nd" and a disc of 150 Mirka I found was also at 1/64th".
Festool grades their grit sizes using the FEPA (P) method. Here's a chart that compares US CAMI and FEPA (P) http://www.festoolusa.com/Web_files/Grit_Comparision.pdf
Accessories:
Like most other Festool products these sanders have plenty of accessories for purchase ranging from buffing and polishing to different firmness pads and interface pads. I bought some felt discs, sheepskin discs, and the buffing adapter pad for the Rotex 125. I used my tripoli buffing compound to buff an oiled walnut table top I had made last year. After about 10 minutes of buffing I had achieved just the sheen I liked and I finished it off with some carnauba and the sheepskin disc. If you have a Rotex I recommend adding the buffing accessories to your arsenal.
Summary:
I used each sander extensively over months and they all performed very well. All the sanders are balanced and have stepless variable speed control. As stated earlier I think the ETS 150/5 was the smoothest of the three and its 6" disc created a very flat surface. When using Rubin paper the ETS 150/5 could be very aggressive, aggressive enough that if you were to only have one sander, this would be the one I'd recommend. Its performance with the higher grit Brilliant paper was well, in a word brilliant! While I never tried an ETS 150/3 I did not find the 5mm stroke of the /5 to have any adverse effect on the final fine finish.
The Rotex 125 would be my sander of choice if I were a refinisher. While it can put as fine a finish on a piece of wood as the ETS 150/5, its smaller disk and right angle form factor make it a bit less suited to be your only furniture sander in my opinion though it certainly could be. With the heavier grit Rubin paper in the rotary mode it removed wood as fast as my belt sander and is very easy to control. I found the ability to go from rotary to random orbital a real time saver. At no time was I ever bothered by any vibration from this sander even though I used it very aggressively.
The ES 125 was very useful in situations where I was working vertically, overhead or on small parts. In most instances it was very smooth, actually as smooth as the ES 150/5 but I found that if I wasn't careful and applied too mush pressure it would bounce and vibrate. Once I learned to simply guide it I was ok. Since there are times when the ETS 150 will be too big or heavy, the ES 125 fulfills the need for a light palm sander.
Dust pickup was outstanding with all three sanders and I did have to use the variable feature of the CT 22E vac on more than one occasion to smooth out the sanders. You really need to connect these sanders to a vacuum in order to get the benefit of virtually dustless sanding. Both the ETS 150 and the ES 125 come with dust bags but I would only use those bags when I absolutely had to. Without suction attached the dust pickup is no better than any other sander on the market although it is nice to be able to just throw away the full paper bag rather than getting dust all over the place while you try to empty it.
Conclusion:
You can't go wrong with any of these sanders and if you have the means you can even make a pretty good case for owning all three. They are nicely engineered and rugged... I bounced all three off the concrete floor more than once. The only one I can complain about is the ES 125 because applying too much pressure can make it bounce but other than that they are all great sanders. As for price, well they're Festools and they command a premium price but I've yet to talk to anyone who was disappointed with their purchase. All Festool's come with a 30 day money back guarantee and 3 years of warranty.