DIY
Festool Trion LED Light
by
5 Jan 2008
The only complaint that anyone has about the Trion PSB 300EQ Jigsaw is that it's near impossible to see the cut line with the dust shield installed. This DIY will help remedy that situation at a cost of about $3. You can click on the pictures to enlarge them if needed.
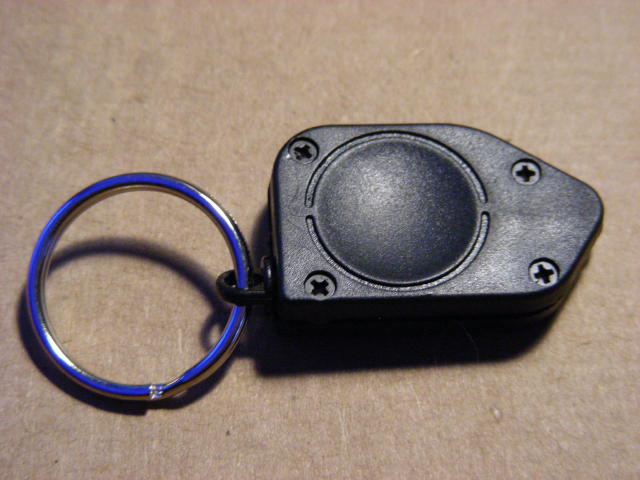
This keychain LED from Flashing Panda was selected simply because it had a switch, and because shipping was only $1. Any LED will work but I suggest you buy one with a built in switch or you'll need to buy the switch separately.
Ok, this first pic is the back side of the
light. We're going to remove those 4 screws. Also, though not shown, put a
piece of Velcro on this side making sure to leave the screw holes clear.
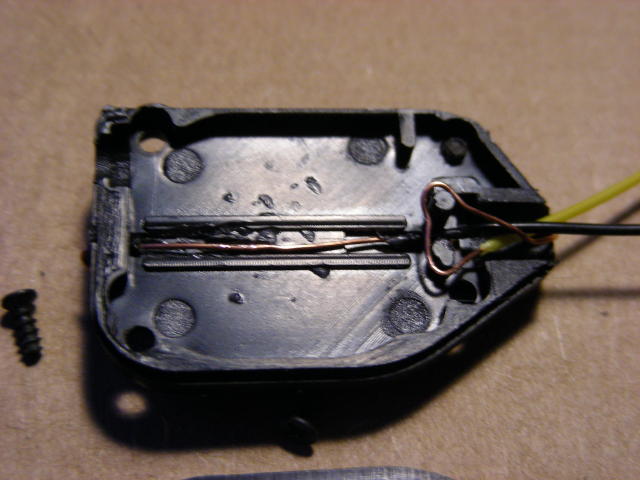
This is how it looks inside. The switch slides the battery forward and it
contacts with the LED to light. We're removing the LED and remoting it with
wire.

I used solid phone cord wire. I heated a pin and punched a hole on the left
side of the case so that the black wire could poke through...then I bent if over
on the outside to hold it in place. Strip the wire so that it's bare over the
range of movement of the battery, but so that there's insulation near where the
second wire will be formed around the posts for the connection.
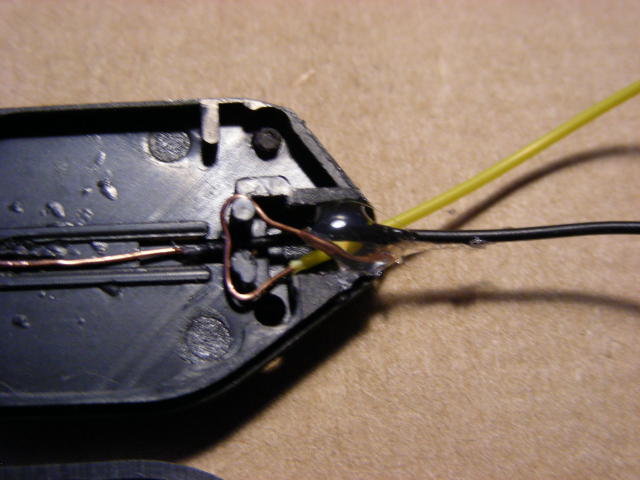
The second wire, in this case yellow, was stripped and formed around the molded
pins in the case. A dab of hot glue was then used to hold things in place.
The wire around the posts (yellow) is the lead that attaches to the curved lead
of the LED. Since this is a diode, hooking it up backwards = no light.
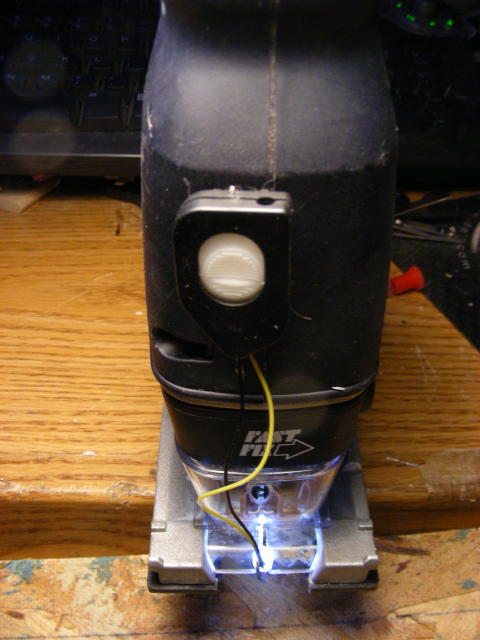
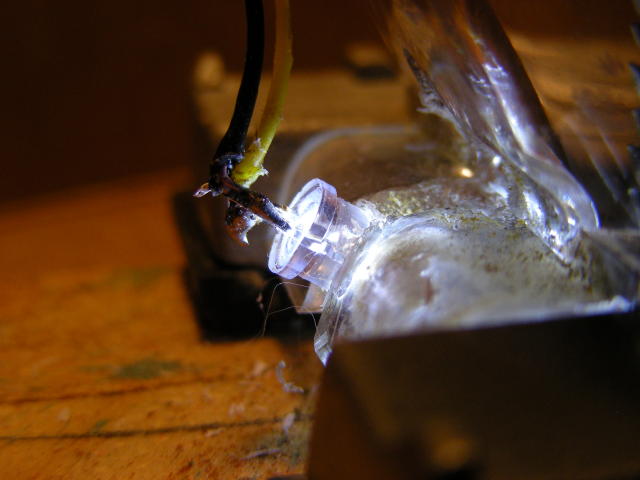
After some experimentation, I settled on this as the best position for the LED.
This LED is very directional and it needs to be pointed directly at the
blade/wood interface. The two previous attempts could not yield a sufficiently
steep angle to accomplish that. I used my TDK chucked with a 3/16" drill to
drill the hole. It will not work unless you use either a TDK or C12 so please
pick one of those up first.
The best way to drill is to install the dust guard and very slowly and carefully
drill the hole. Because you're drilling through a slot the first penetration
will not actually make a 3/16th hole. You'll have to fiddle with it, putting
pressure to the left and right, in order to complete this.
You want an interference fit so that you can
press the LED in the hole and it'll stay there until you decide to remove it.
The LED does not get hot.
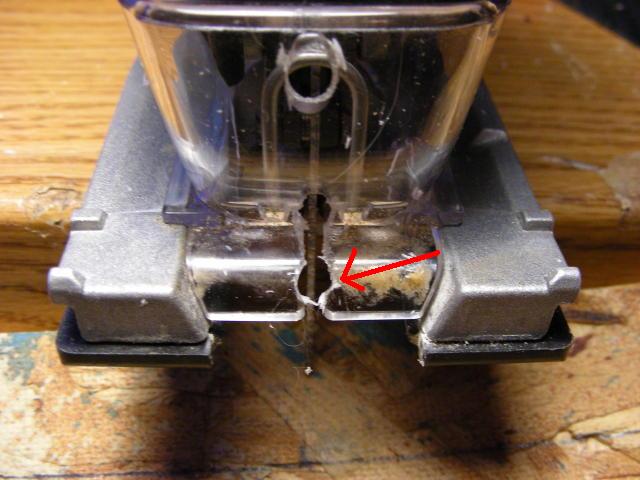
If I were to start over, the only hole I'd drill would be the lower one (red arrow).
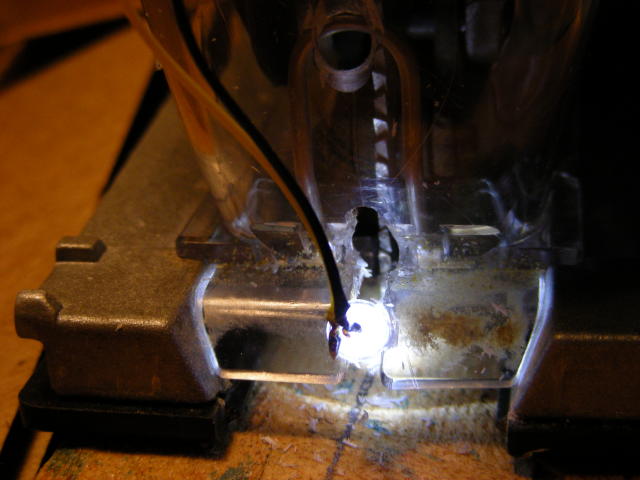
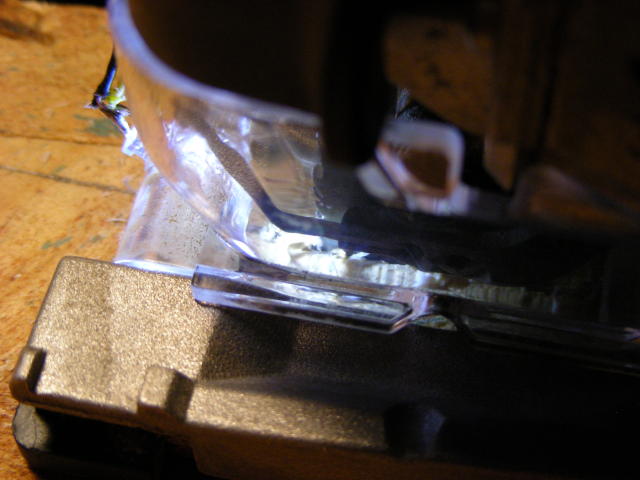
These next 2 pics just show the installation. If you expand the second one you can
see the blade and cut line. I exposed on the bright light then re-framed the pics and took the shots, so the light doesn't wash out the pictures.
This is the finished installation with the switch Velcro'ed to the Trion.
Soldering is still just tacked on at this point.