
Festool Domino
DF 500 Q
Domino Joiner![]() Set
Set
Cutter & Domino Tenon Assortment Systainer
by
18 Feb 2007
The Domino In Use:
I was lucky enough to receive the Domino for review while I was
just beginning a coffee table project. This was both good news and bad
news. I was planning on building the table with integral mortise and tenon
joints so from that perspective the timing was perfect. The bad news, or
maybe more accurately the challenge in using the Domino for this project was
that I ran the risk of making mistakes and not ending up with a table that I'd
feel good about giving to my middle daughter to finish out her living room table
set.
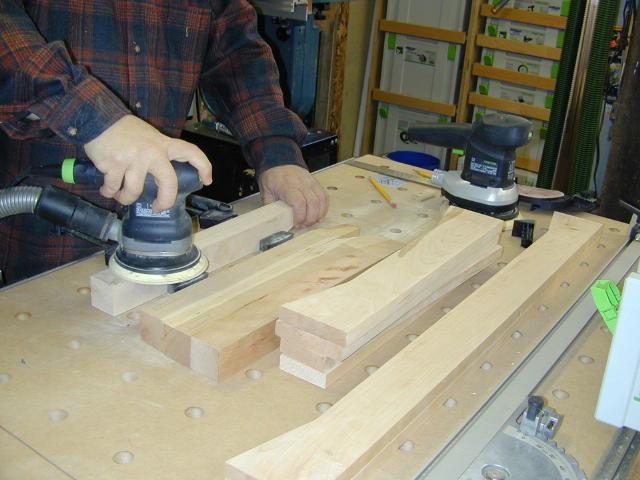
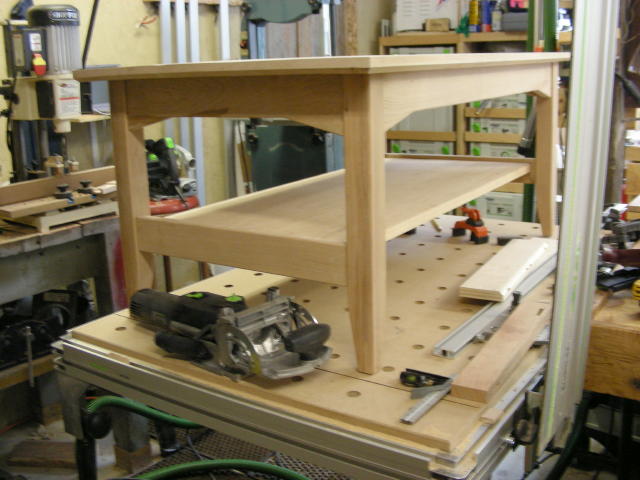
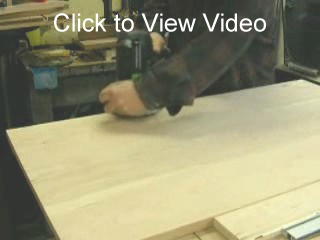
I'm not going to go into all the steps in making this coffee table but at left you see me sanding the legs and apron pieces in anticipation of taking the Domino to them. In the case of these pieces one can really completely finish sand them prior to mortising because the Domino operation in this application will not require any sanding.
Once the parts were sanded I carefully
selected and marked each part so I knew which face would be facing the outside
of the finished table. This is very important because we will use the
"outside" face of all parts, including the legs, to reference the Domino from.
Doing it this way allows us not to have to be extremely precise when finding the
center of the thickness of a piece. When using more traditional power
tools for M&T joinery; a Bench Top Mortising machine, Table Saw Tenon Jig or a
router and jig, our process is to find the exact center for the tenon.
That is accomplished by either the tool itself like in the case of the table saw
jig or our own techniques like reversing you piece and running it through the
router again to find the exact center, as examples. With the Domino there
really isn't a need to be so precise as long as you make all your reverences
from the same side of the piece. I've rambled on about this and I hope I
didn't give you the impression that we're not placing mortises at the center
line of the piece, it's just that for me, when I talk about the exact center of
a piece, I really mean exact as measured by an accurate measuring
device and with the Domino there just isn't the need to be that precise.
Not having to worry about those exacting tolerances also greatly speeded up the
process for me. Once I had the boards marked for the outside I used a rule
to mark the position of the mortises, much like one would with a biscuit joiner.
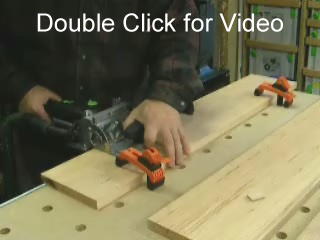
If you click on the video on the right you will see a full length video of me cutting mortises in the apron and legs. I did have to edit out a bit about halfway through the video because I had a bout of reverse hallucination....you know, not seeing something that's right in front of you. I was looking for my gauge block and couldn't find it so I uttered a few expletives and had to do an edit. It is somewhat a long video at about 6 megabytes but I wanted you to get a feel for exactly how long it takes.
In this video please remember I am literally using the Domino for the first time so I'm being very careful and slow plunging. I didn't know how fast or slow I could plunge the mortise so I was taking it extremely slow so as not to ruin the piece....I'm much quicker now.
You'll also notice that I use one exact fit
mortise and one wide mortise. If I was do do this over, with the exception
of edge joining, I would use all
exact fit mortises because now I know that I and the Domino can place those
mortises precisely where I want them. The last mortises I made were in the
stretchers for the shelf and each of those joints has two exact fit 8x40mm
tenons and fit is perfect.
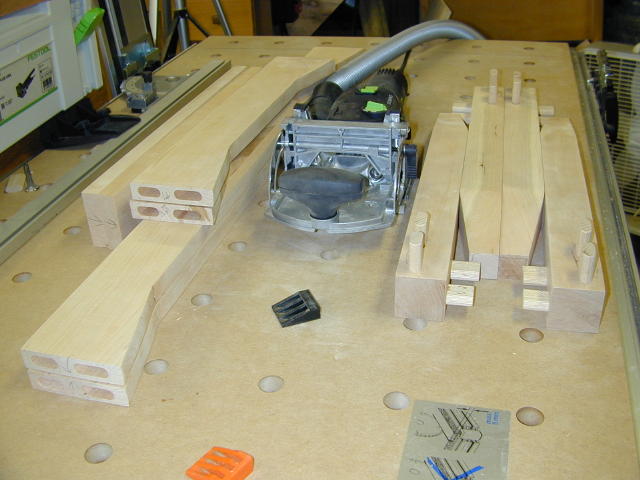
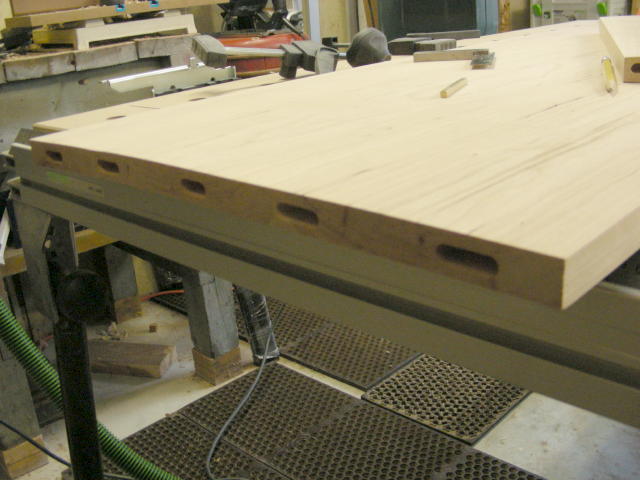
 At
left you see the parts all milled and some Domino tenons inserted in the legs
for a dry fit. If I subtract the overhead for making the video I would say
that the process of measuring and marking the parts as well as using the Domino
took about a half an hour. Conversely, the process of making integral M&T
on a very similar piece using a bench top mortiser and a table saw tenon jig
took me the better part of an afternoon. For comparison, the photo at
right are similar parts for a matching end table made with integral tenons.
At
left you see the parts all milled and some Domino tenons inserted in the legs
for a dry fit. If I subtract the overhead for making the video I would say
that the process of measuring and marking the parts as well as using the Domino
took about a half an hour. Conversely, the process of making integral M&T
on a very similar piece using a bench top mortiser and a table saw tenon jig
took me the better part of an afternoon. For comparison, the photo at
right are similar parts for a matching end table made with integral tenons.

The results of the dry fit were perfect. With traditional joinery I'd be spending a considerable amount of time fitting the joints with my shoulder plane. I'm going to have to put a heavy coat of wax on my Lee Valley shoulder plane so it doesn't rust while sitting in the drawer.
 The
next step was to edge join the boards which will make up the table top and
shelf. I was very apprehensive about using the Domino initially for this
operation because my luck with using a biscuit joiner for this operation was
less that acceptable. Remember what I said above about my definition of
exact and apply that same expectation to the alignment of the boards.
I found that with a biscuit joiner I could never achieve an exact joint and I
was afraid that the Domino would disappoint me is this area as well.
The
next step was to edge join the boards which will make up the table top and
shelf. I was very apprehensive about using the Domino initially for this
operation because my luck with using a biscuit joiner for this operation was
less that acceptable. Remember what I said above about my definition of
exact and apply that same expectation to the alignment of the boards.
I found that with a biscuit joiner I could never achieve an exact joint and I
was afraid that the Domino would disappoint me is this area as well.
If you click on the video link at left and
listen to my voice when I feel the joint I think you will hear my surprise and
delight at the quality of the joint. I can tell you that I will now always
use the Domino for this application as it will make alignment easier and I don't
have to worry about the boards moving out of perfect registration as I'm
tightening and adjusting the clamps.
 My
table has a shelf and I wanted to use the Domino to attach it. I like
hiding the joint in a dado but certainly the tenons provide all the deeded
strength so that it could be a butt joint.
My
table has a shelf and I wanted to use the Domino to attach it. I like
hiding the joint in a dado but certainly the tenons provide all the deeded
strength so that it could be a butt joint.
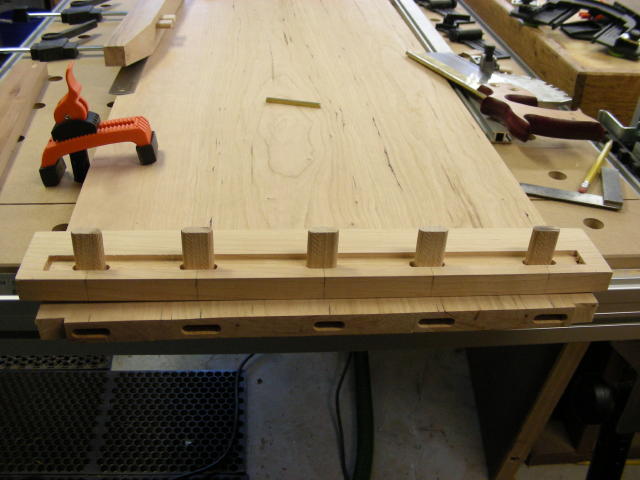
So I milled 5 mortises in both the shelf edge and the stretcher and then used my router table to create a shallow mortise, about 3/16" deep (right). The center mortise I milled I made exact fit and this tenon will be glued into both the stretcher and table, the rest I milled at the medium width and they will not be glued.
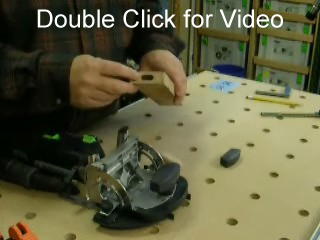
I wanted to use the 8mm tenons and they are 40mm in length. This posed a little problem because the mortise in the stretcher could only be 12mm deep and the largest setting on the Domino is 28mm so 12+28=40 BUT I was going to set the shelf in a 3/16 deep mortise so now my tenon was 3/16" too long. To get around this I used the 40x8mm tenons cut down to about 30mm in length. A safe way to trim the tenons is with my SCMS and a jig. For the jig I simply milled an exact fit mortise in the end of a scrap, inserted the tenons and cut.
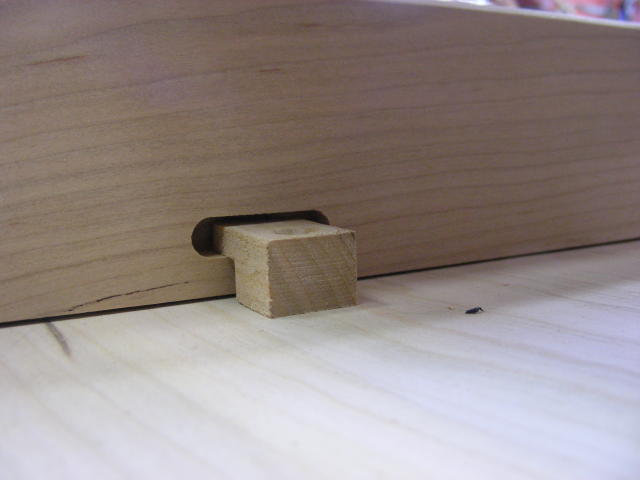
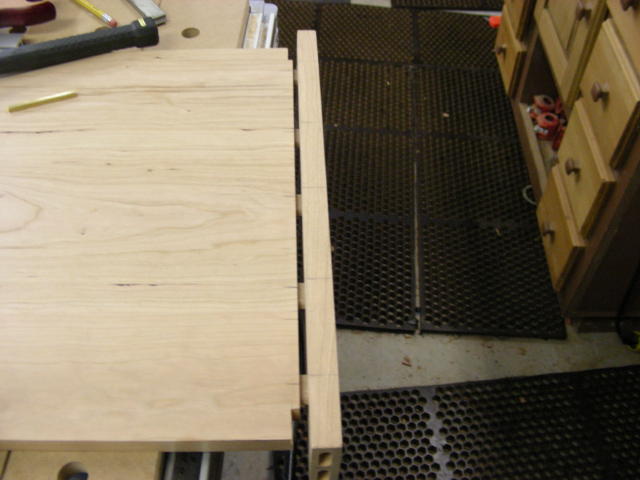
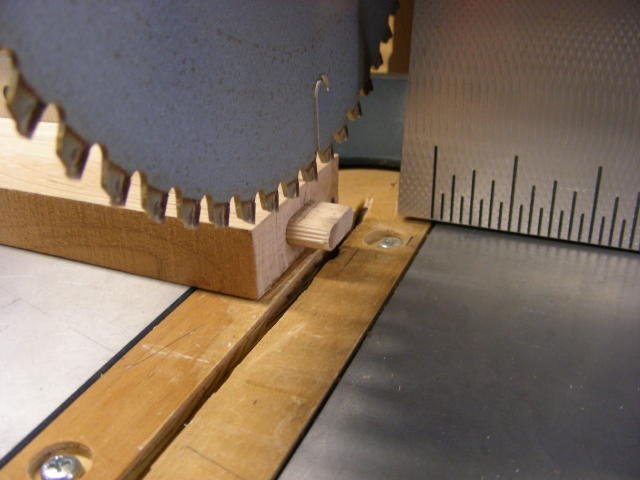
Another use for the Domino is to mill slots to receive what I call table buttons. I milled 2 slots per apron section and attached the top for the dry fit with table buttons.
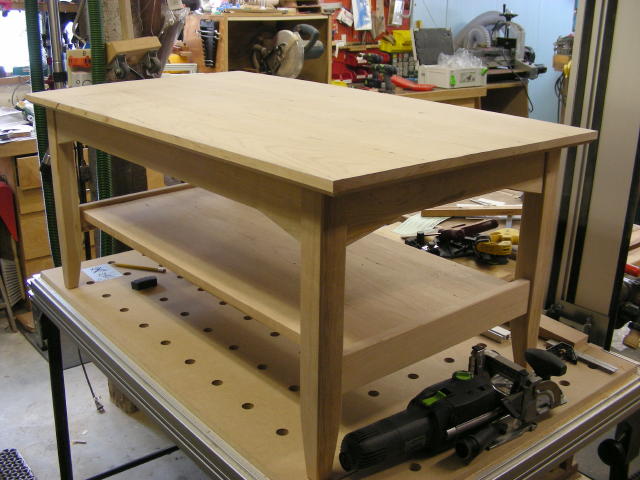
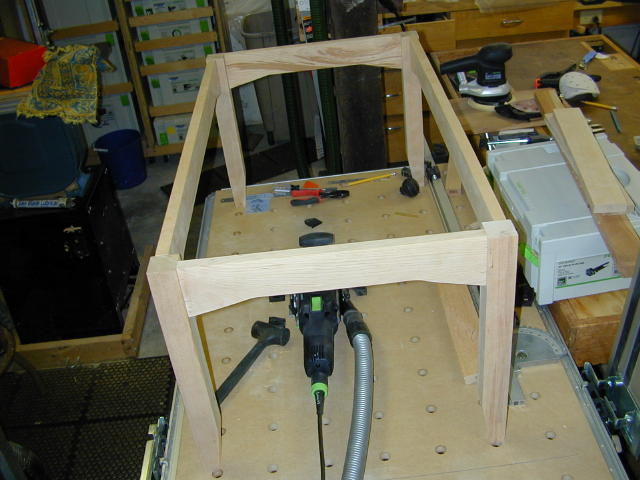
Here's the coffee table in a final dry fit. I still have to edge treat the shelf and one final sanding but then it's time to glue it up. There are 42 mortise and loose tenon joints in this table, plus another 8 mortises for the table buttons and 20 joints (40 mortises) in the table top and shelf edge joining.
 These
next two clips are not about using the Domino but you may be interested anyway.
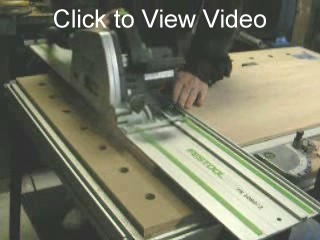
The first one (left) is a short clip showing how easy it is to square up a panel
using the Multi Function Table and the ATF55 Plunge saw.
The process is to first rip the top to width and then trim the ends on the MFT.
These
next two clips are not about using the Domino but you may be interested anyway.
The first one (left) is a short clip showing how easy it is to square up a panel
using the Multi Function Table and the ATF55 Plunge saw.
The process is to first rip the top to width and then trim the ends on the MFT.
In the second clip (right) I'm applying a bevel to my table top, again using the MFT and the OF1400 Plunge Router. I could have used my router table but this panel was large enough that I thought hand routing would be easier...and it was.
Demonstrating the Accessories:
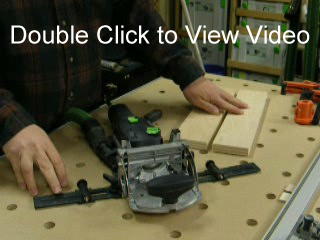
 This next clip demonstrates using the
Trim Stop to facilitate end grain mortises. The Trim Stop is a real
time saver and assures repeatability of the mortise placement on your work.
I've mentioned throughout my videos that securing the work, in my opinion, is an
important component to achieving accuracy with the Domino and the Trim Stop acts
as a jig for positioning and securing you work. I see if being of value
when you only have a few pieces to mill and you don't want to bother setting up
a jig on your bench or when you're out on a job site and cant create a more
elaborate jig. It is also a great accessory when you have a lot of pieces
to mill as it does all the centering and securing work for you and leaves you
only with coming up with some way to keep the work from moving away from you
when you plunge.
This next clip demonstrates using the
Trim Stop to facilitate end grain mortises. The Trim Stop is a real
time saver and assures repeatability of the mortise placement on your work.
I've mentioned throughout my videos that securing the work, in my opinion, is an
important component to achieving accuracy with the Domino and the Trim Stop acts
as a jig for positioning and securing you work. I see if being of value
when you only have a few pieces to mill and you don't want to bother setting up
a jig on your bench or when you're out on a job site and cant create a more
elaborate jig. It is also a great accessory when you have a lot of pieces
to mill as it does all the centering and securing work for you and leaves you
only with coming up with some way to keep the work from moving away from you
when you plunge.
I had created my table tops by using the traditional way of measuring and marking the position for the tenons so when it came to demonstrating the Cross Stop I didn't have an actual project piece to use. I devised a demonstration using a couple of short pieces of plywood. In order to show you how accurately the Domino with Cross Stop could place the mortises, I've used the exact fit size for the mortise and rather than starting at one end and moving down the board, I cut two mortises from one end and two from the other. With this test not only am I demonstrating the repeatability of the Domino and Cross Stop but I'm compounding the possible error by indexing of of each end of the boards.
On a real panel edge joining project I would probably cut my first mortise using the stop pin built in to the Domino (as I did in this test) and would simply use the Cross Stop to mill mortises all the way along the edge until I got close to the end and then only if need be, make my final mortise using the opposing stop pin indexed off the far end of the board.
Problems and Tips:
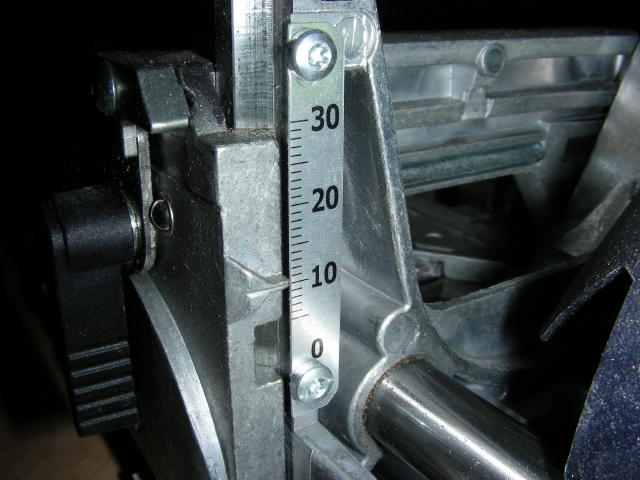
The only "problem" I had with the Domino was that it needed to have its Fence Scale and Centering Scale adjusted or calibrated. Thanks to the great new manual by Rick Christopherson, instructions for the centering scale are included but there wasn't enough time to include the fence scale. Since the user needs to rely on these scales to achieve accuracy and alignment, my recommendation is that the instructions for the fence scale be added, and the calibration of these scales be be moved to the beginning of the manual for setting up the Domino.
A shortcoming I found with the Domino is the lack of an infinitely adjustable plunge depth. The Domino comes with 5 preset stops for the plunge or mortise depth and they work fine for 99% of applications but for thin pieces it would be nice to be able to fine tune the depth. Rick's manual explains a fairly simple work around for this issue.
The last annoyance are the built in stop pins. Don't get me wrong they work great when you're using them but when you aren't they can mess up your mortise placement if you're not careful. On a number of occasions when milling mortises close together the stop pin would catch in the adjacent mortise and misalign the Domino causing me to have to back the Domino off and carefully move the Domino until I was past the mortise before pushing it up tight to the work to align it. It would be nice if the pins had a slot in the end and threads on the far end so when not in use one could push them in and lock them in the recessed position.
Other than those just mentioned, I really don't have anything else to complain about with the Domino.
 As
for tips, the Domino is a pretty straight forward tool to use. Tip number
one is to calibrate both the fence and centering scales and to use the centering
scale in the fence as your primary scale for accuracy and only use the scribes
on the base of the Domino when precise placement of the mortise is not as
important.
As
for tips, the Domino is a pretty straight forward tool to use. Tip number
one is to calibrate both the fence and centering scales and to use the centering
scale in the fence as your primary scale for accuracy and only use the scribes
on the base of the Domino when precise placement of the mortise is not as
important.
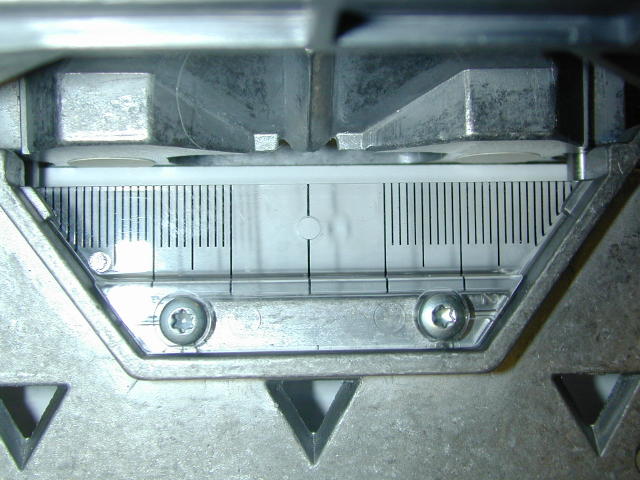
Tip number two is to use the left and right triangular windows on the fence to confirm that your guide pin is up flush against the edge of the board. If it is it will be centered in the window as shown at right.
Tip number three is to be careful when aligning the scale to the work with the Domino running. The swivel action of the bit causes the Domino the "shake" laterally when held in your hand causing you a little more effort to line the centering scale up with mark. Additionally when the Domino and vacuum are running, the Domino "sticks" to the work from the suction. This too makes aligning a little more difficult and can even feel like your stop pin is engaged when it is not...so be sure to remember the tip above when using the stop pin.
Conclusion:
I believe the Domino produces accurate mortise and loose tenon joinery at a speed and ease that I've never experienced. The Domino will be utilized from now on for all my mortise and tenon joinery where design permits. I'm not sure if my work qualifies as the work of a craftsman yet but if it did I would qualify myself as a modern tool assisted craftsman and not a "Neander". That being said I consider the joinery created by the Domino to have the same quality and craftsmanship as other power tool assisted joinery. This is not biscuit joinery. Because I achieved an accuracy in my panel glue up with the first use of the Domino, something I never could do repeatedly with my biscuit joiner, I will be using the Domino exclusively and my Dewalt plate joiner is going on Craig's list.
As with all Festool tools the Domino comes with a 30 day no questions asked guarantee. Their 1yr +2 yrs Warranty where Festool pays shipping both ways for product failures during the first year and return shipping for the last two years of the warranty. Also as with every Festool tool I've used the Domino exudes Festool quality in every aspect of the tool.
I hope that with this review I've shown you enough of the tool and its use that you can make an informed purchase decision. Would I recommend that you purchase the Domino? That is a decision only you can make but I believe that the Domino lives up to all the hype and expectations, performs at least as well as advertised, is a real time saver while creating high quality joinery.