Page 1 of 3
Kreg Precision Miter Gauge
by
Bill Esposito
14 Aug 2004

Have you ever stood back to admire your work and had at that moment
notice that it is not really square? I have. Either my OEM Jet miter gauge
was off or my SCMS. It really didn't matter which, the end result was a
slightly out of square project. Enter the aftermarket miter gauges. There
are many "precision" miter gauges on the market and the latest
offering from Kreg is an update to an old standby, the FastTrak by Mark
Duginske.
As with all my reviews main intent is to try to provide the reader with
all the information they need to make an informed purchase. There will
be plenty of photo's, some very close up, which I hope will give you a
feel for the tool and which should preclude you from being surprised when
you open the box. Click on any picture to enlarge it. Many thanks to Brad
of Kreg Tool Company for providing
the gauge.
What's in the box?
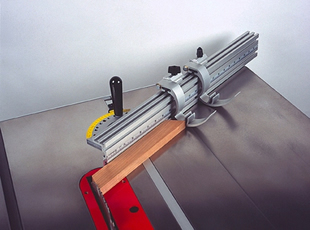
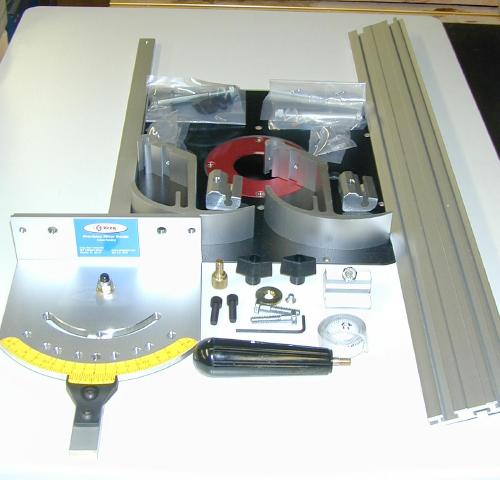 The test unit was the Kreg Precision Miter Gauge w/24"
Add-On System. At left is a photo of the box contents. The gauge, already
assembled and calibrated is at far left. The two included flip stops are
at center and the 24" fence on the right. Everything was carefully
packaged and arrived without damage. Because Kreg is currently running
a special where you receive a second flip stop for free, it arrived in
a separate box. The test unit was the Kreg Precision Miter Gauge w/24"
Add-On System. At left is a photo of the box contents. The gauge, already
assembled and calibrated is at far left. The two included flip stops are
at center and the 24" fence on the right. Everything was carefully
packaged and arrived without damage. Because Kreg is currently running
a special where you receive a second flip stop for free, it arrived in
a separate box.
Assembly
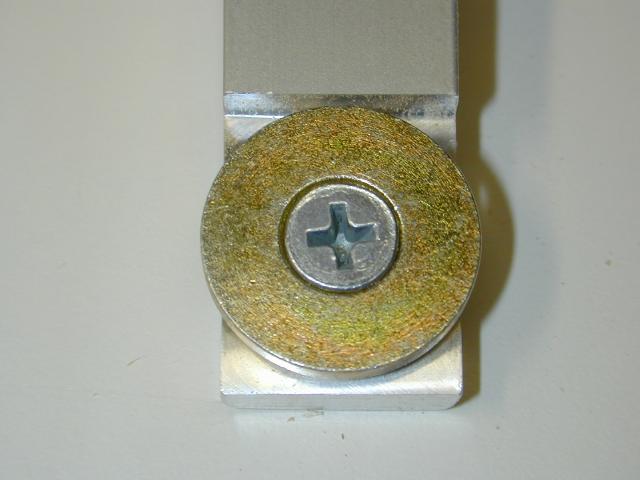 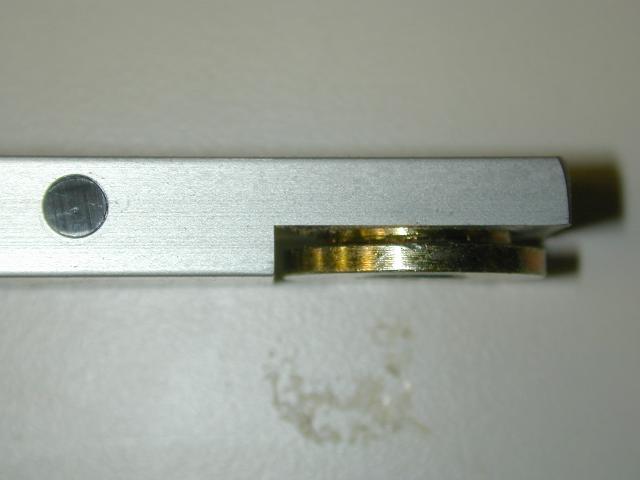 The
first operation is dependent on your table saw slot and may not be required
for your set up. The gauge comes with the option of installing a T-Slot
washer for those miter tracks with a T-Slot. My Jet contractor's saw has
a T-Slot so I installed the washer which was simply screwing the washer
to the end of the bar. The bar is a healthy 24" long and by my measurement
23/32 wide by 3/8" thick and is made from aluminum. The
first operation is dependent on your table saw slot and may not be required
for your set up. The gauge comes with the option of installing a T-Slot
washer for those miter tracks with a T-Slot. My Jet contractor's saw has
a T-Slot so I installed the washer which was simply screwing the washer
to the end of the bar. The bar is a healthy 24" long and by my measurement
23/32 wide by 3/8" thick and is made from aluminum.
Before you do anything else now is as good a time as any to screw the long
black handle into the gauge
The next step is to adjust the slop out of the bar.
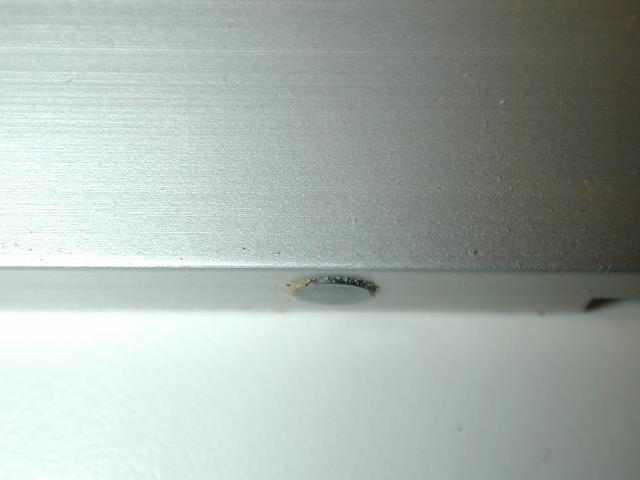  There are 5 nylon adjustment inserts
along the length of the bar (left). What we need to do is extend them out
from the bar just enough so that they take up the slack (right), but not
so far that they cause the bar to bind. There are 5 nylon adjustment inserts
along the length of the bar (left). What we need to do is extend them out
from the bar just enough so that they take up the slack (right), but not
so far that they cause the bar to bind.
 The process is pretty easy. Simply insert the bar
in the slot until the first plug is in the slot. Wiggle the bar to feel
if there is any play, if there is you need to adjust the plug. We want
the plug to just "kiss" the edge of the slot...too tight and
the bar will bind. To adjust the plug use the supplied Allen wrench and
slowly screw in the set screw about 1/8th of a turn. Screwing in the set
screw pushes out the nylon plug. Push the bar into the slot again and wiggle
to feel the slop. If it is still loose pull the bar back until the plug
clears the slot and adjust it a little more. Once the first plug is adjusted
move on to the second one and repeat until all five are adjusted. If after
you finished the bar feels a little tight (mine did), just work it in the
slot a few times to wear down the nylon plugs. The process is pretty easy. Simply insert the bar
in the slot until the first plug is in the slot. Wiggle the bar to feel
if there is any play, if there is you need to adjust the plug. We want
the plug to just "kiss" the edge of the slot...too tight and
the bar will bind. To adjust the plug use the supplied Allen wrench and
slowly screw in the set screw about 1/8th of a turn. Screwing in the set
screw pushes out the nylon plug. Push the bar into the slot again and wiggle
to feel the slop. If it is still loose pull the bar back until the plug
clears the slot and adjust it a little more. Once the first plug is adjusted
move on to the second one and repeat until all five are adjusted. If after
you finished the bar feels a little tight (mine did), just work it in the
slot a few times to wear down the nylon plugs.
** UPDATE ** While the review was in progress Kreg made a modification
to the plugs. These changes and others are explained in the Product
Update section of this review.
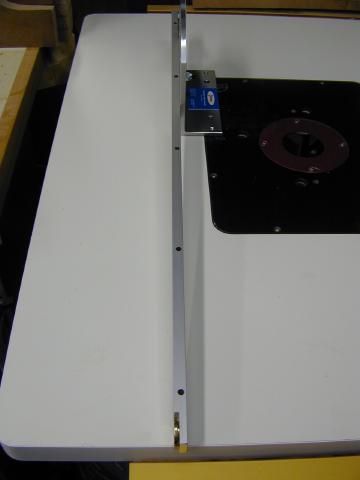
The 24" Fence
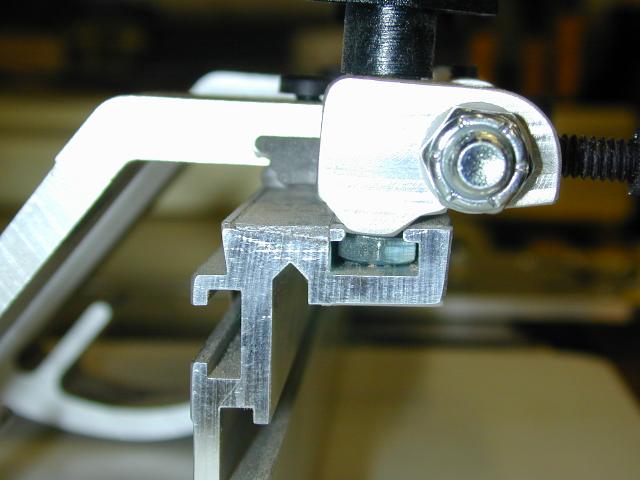
In the three pictures above you can see the basic assembly of the fence.
Simply insert a pair of 1/4x20 hex head bolts into the side of the fence
with only one T-Slot (above left), extend them through the two inner holes
in the miter (center) and spin on the T-Knobs (right).
 The other two holes are for the micro-adjust screws.
We will get into their use in a bit. The other two holes are for the micro-adjust screws.
We will get into their use in a bit.
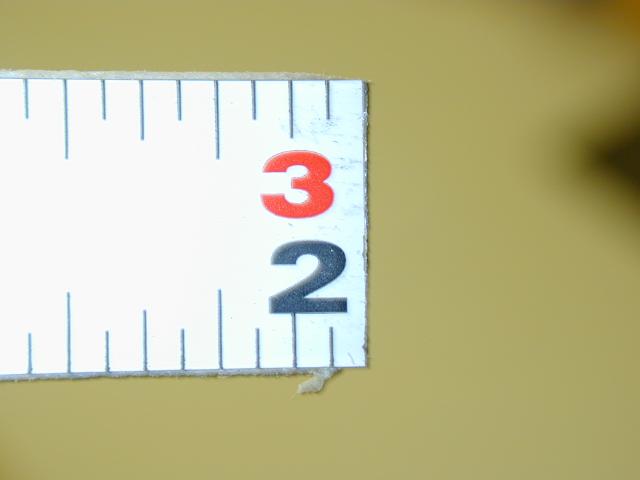
The next step in the fence assembly is to stick the rule to the fence.
  First, clean the top track where the rule will
be installed with alcohol to assure a good bond. Since the aluminum fence
will never be right up against the blade, start the tape at the 1"
mark (left) and then peal and stick the whole length of the fence (right). First, clean the top track where the rule will
be installed with alcohol to assure a good bond. Since the aluminum fence
will never be right up against the blade, start the tape at the 1"
mark (left) and then peal and stick the whole length of the fence (right).
Tip - Pre-Cut the tape before
you install it
If you first install
the tape you'll have a bear of a time cutting it off since it
is metal. I dulled a couple of knives before I finally ended up
just grinding it off. Here's a tip Brad at Kreg told me about.
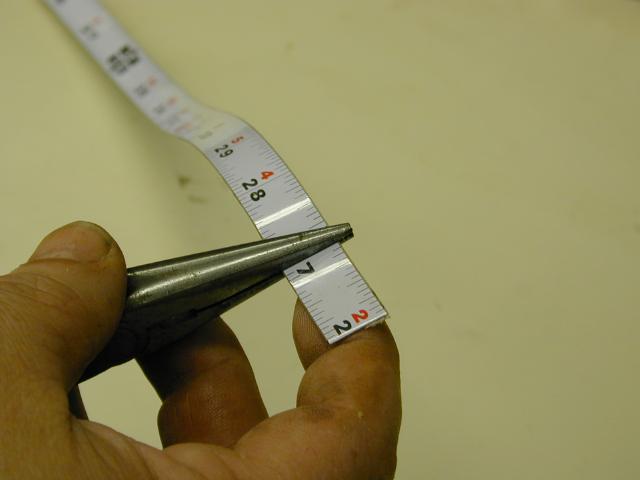 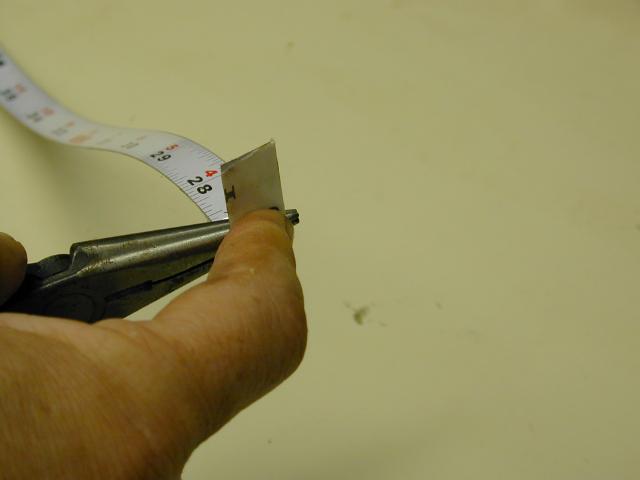 
Just line up a
pair of long nose pliers on the mark where you want the rule to
break, bend it up tight against the pliers, and then bend it down
until it breaks off. The break is clean and much easier than trying
to cut the rule off once installed.
|
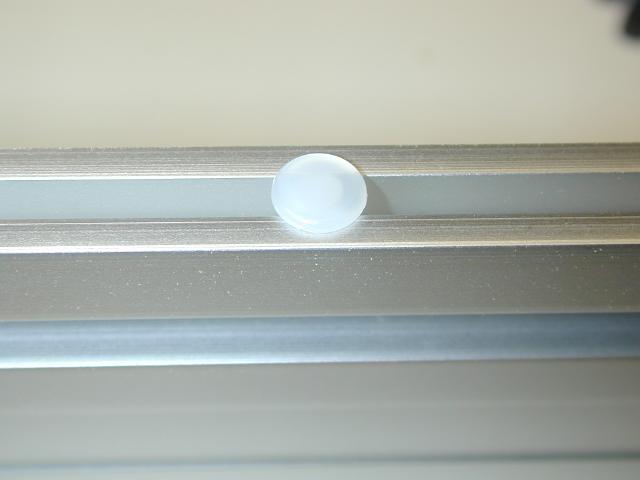 The fence also comes with a couple of nylon feet installed
to help it slide over your table. Kreg included two extra of these feet
in the bag with the allen wrenches as spare parts so don't lose them. The fence also comes with a couple of nylon feet installed
to help it slide over your table. Kreg included two extra of these feet
in the bag with the allen wrenches as spare parts so don't lose them.
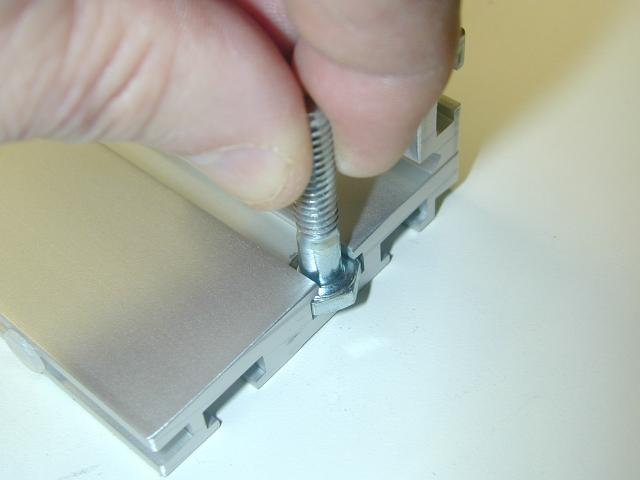
 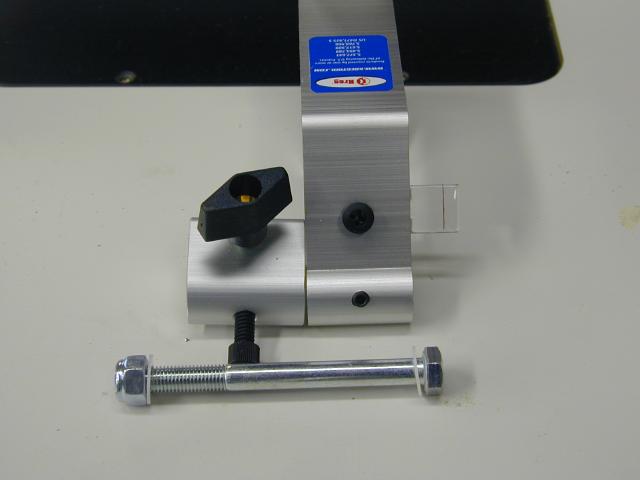 The last bit of assembly
we're going to do is assemble the flip stops. The photo at right shows
you the order of assembly (bolt not shown inserted through assembly for
clarity). Tighten the bolt just enough so that the stop swings freely but
is not loose. The nut on the end of the bolt is a self locking Nyloc. Don't
worry about the cursor position yet, we'll align everything when we align
the fence. The last bit of assembly
we're going to do is assemble the flip stops. The photo at right shows
you the order of assembly (bolt not shown inserted through assembly for
clarity). Tighten the bolt just enough so that the stop swings freely but
is not loose. The nut on the end of the bolt is a self locking Nyloc. Don't
worry about the cursor position yet, we'll align everything when we align
the fence.
Assemble both stops and install them in the T-Track on the top of the fence
(right).
[Page 1] [Page 2] [Page
3]
[Home]
14 Aug 2004
Copyright © 2004 , Bill Esposito.
All Rights Reserved.
|